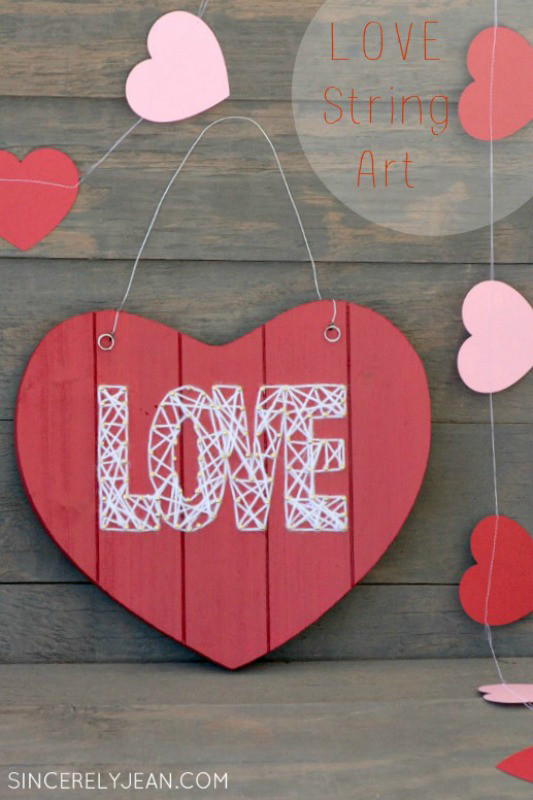
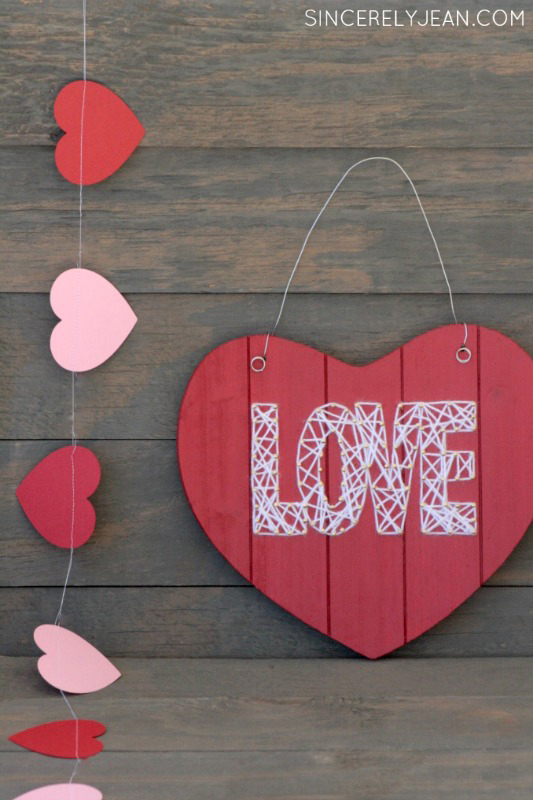
Today I am bringing you a fun Valentine’s Day craft! Have you ever tried string art? If not, then you need to! It is really fun and you can be so creative with it! You can do shapes or letters for whatever you want. It only requires a few supplies.
If you like my heart garland in the background of the photo, check out my DIY Heart Garland post HERE!
Supplies:
1. String (I used white yarn.)
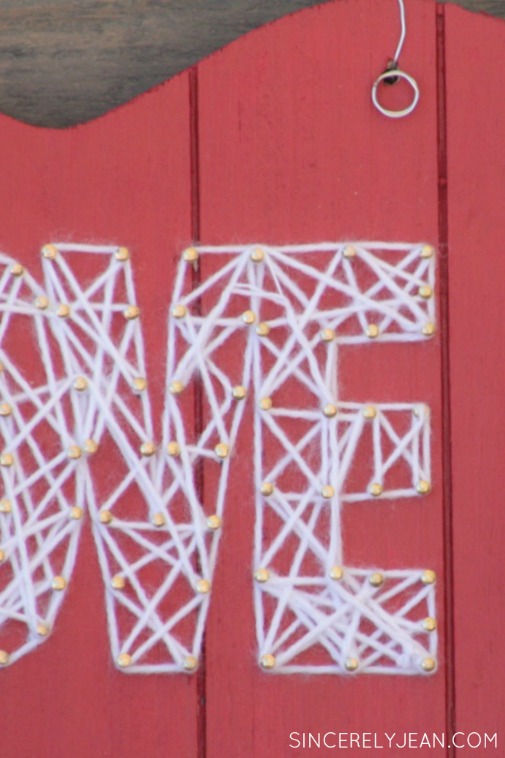
2. Nails (I used 13mm brass mini nails that I found at Hobby Lobby.)
3. Hammer
4. Wood (I got this wood heart from Target for $3 and painted it red.)
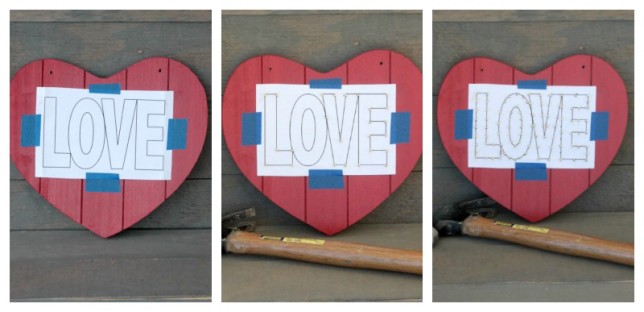
1. Print out the shape or words that you want to use. I used the word LOVE. I wanted my letters to be connected so that I would only have to use one piece of string. If you want to use my LOVE design, you can find the printable HERE. Tape the paper onto the wood.
2. Using your hammer, nail the nails on the outlines of your letters and where the letters connect first. It is important to do this first so that you can use the connecting nails to go from one letter to the next when it is time for the string.
3. Then, evenly space your nails on all of the letters. This is the longest part of the process and my fingers were hurting from the hammer but it was still fun!
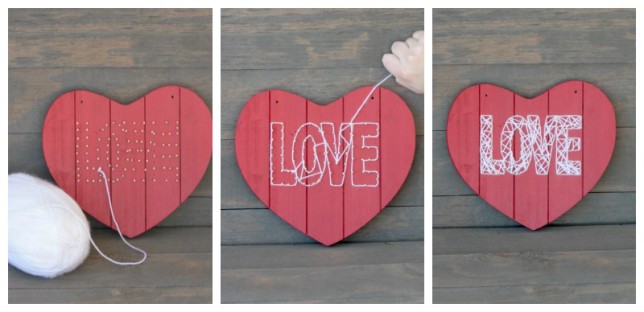
4. Now it is time for your string. I started mine where the L and O connect. Tie your string to that nail.
5. Outline each letter first looping the string around each nail. Only use the connecting nails when going from one letter to the next.
6. Once you have your letters outlined you can start going crazy. Make triangle shapes where ever you want! My only technique was to aim for a triangle shape and to not leave any blank spaces. There is no correct way to do it, just have fun and do what you think looks good! When you are done, tie the end of the string to the last nail.
There you have it! I hope you enjoy this fun project!
Have you made any other string art projects? We would love to know about them in the comments below!
Sincerely,
shari jean
If you liked this post we would love for you to share it on social media by clicking the buttons below!
Follow our blog with Bloglovin
[easy-social-share buttons=”facebook,twitter,pinterest,mail” morebutton_icon=”plus” counters=0 style=”icon”]
See where we are linking up HERE!

This is really gorgeous! I love your lovely project! Thanks for sharing great tutorial!
Have a fabulous week!
Hugs and love from Portugal,
Ana Love Craft
http://www.lovecraft2012.blogspot.com
Thanks for the comment Ana! We are glad that you like it! String art is so much fun!
So cute! I’ve yet to make a String Art project. You’re also very lucky you scored a heart pallet from Target, them suckers are long gone… Ha! Holly 🙂
Thanks Holly! You should definitely try string art! It is really fun!
Love the string art ladies!!! That’s one craft I haven’t tried yet! Thank you so much for sharing this pin on the P3 party Board! I love it and it will be featured on the blog and my social media tomorrow! So look for a little traffic from me!
Best,
Kim
Thanks Kim! We are glad you like it and are excited that you are going to feature it!