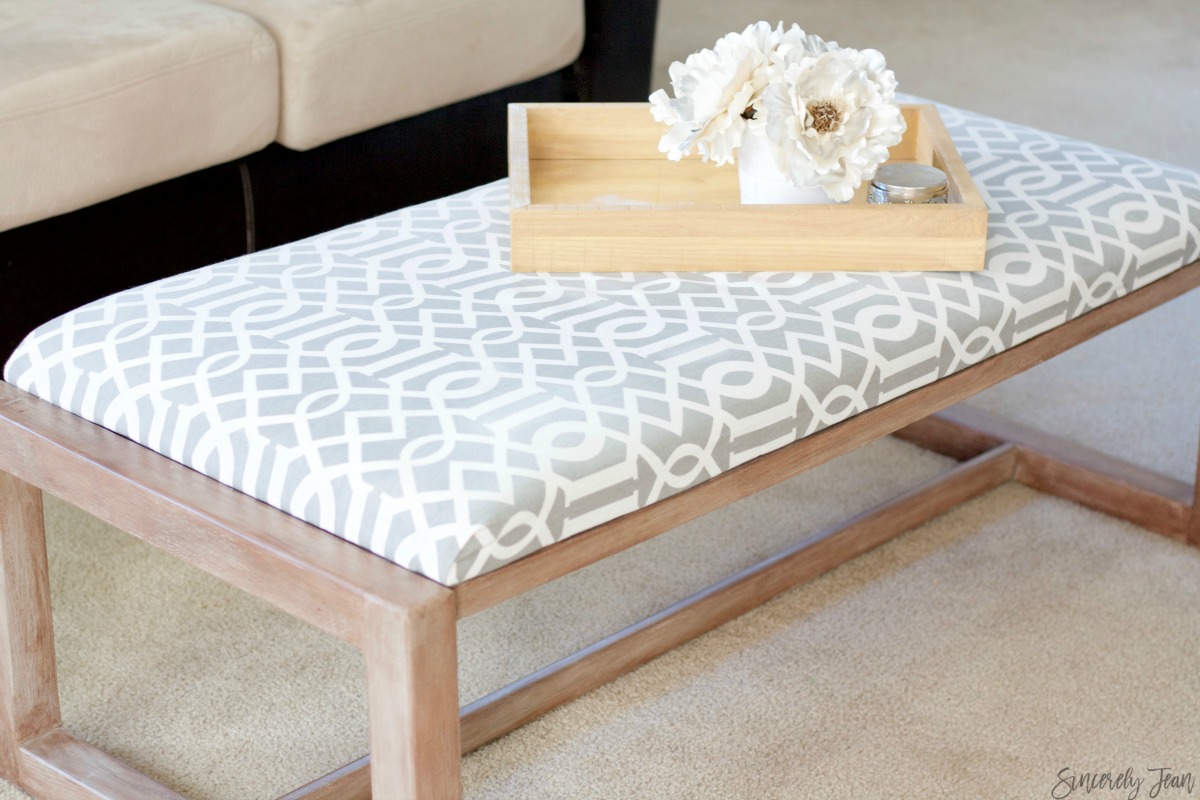
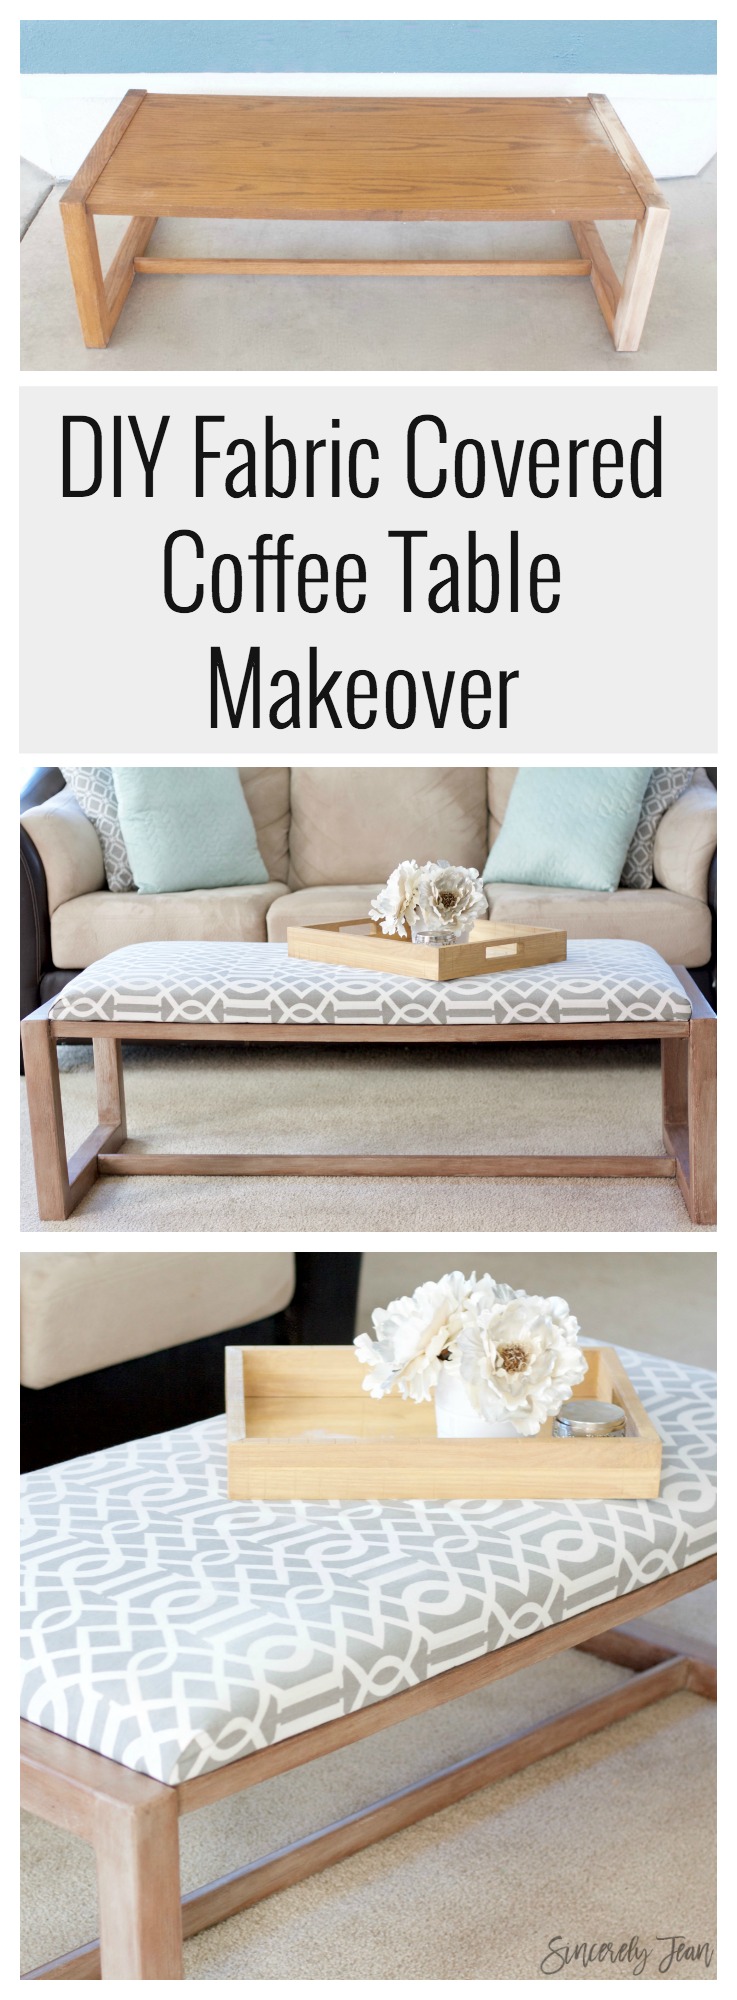
Hey Sistas! Today I am excited to share with you guys my DIY fabric covered coffee table makeover. This was such a fun project and I loved the turnout so I wanted to share you with you guys!
So I had previously redid a coffee table that you can find here and loved it but it have pretty sharp corners on it so I decided I wanted something a little rounder on the corners. I still wanted it to be rectangle to work with the space in my house but I also wanted it to be fabric covered.
I found this piece on craigslist and I fell in love with it and also the price, it was only $15. #winning!
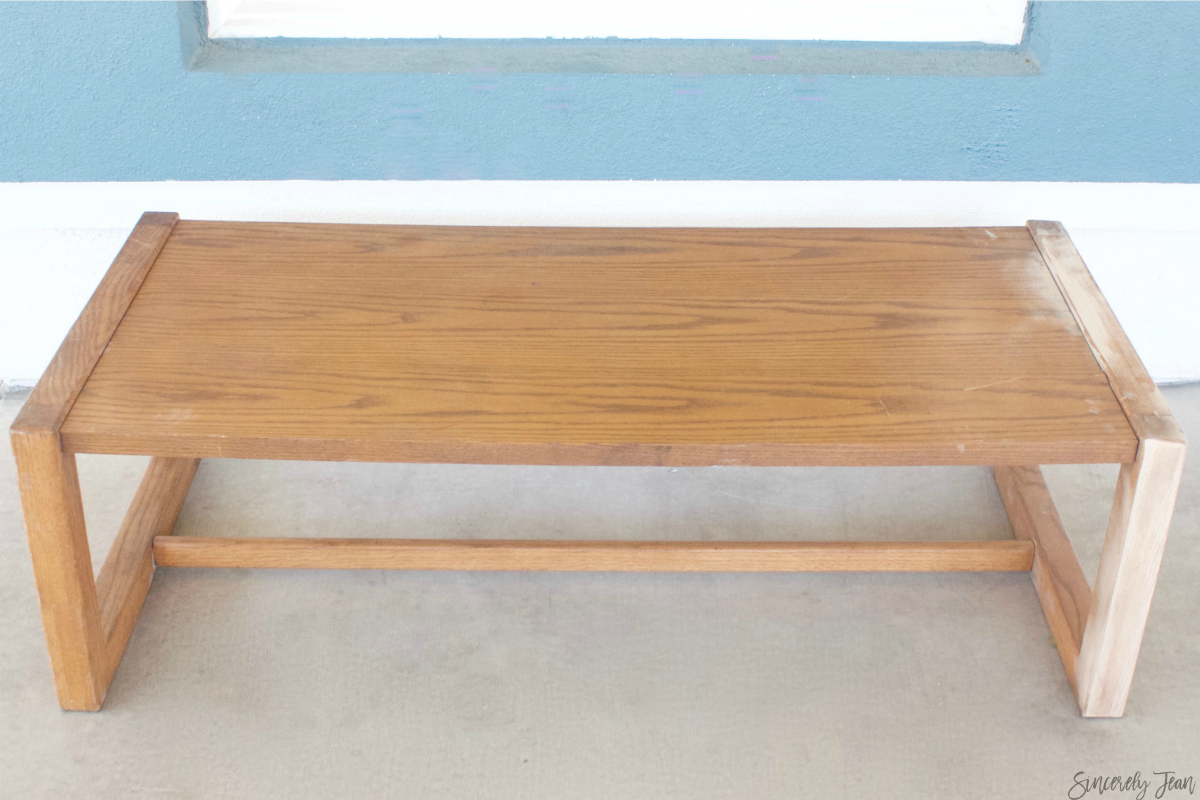
The first thing I did was sand it all down with my Orbit Sander to get the old finish off. If you are a DIYer it is so worth it to purchase a sander. I can’t even say how much easier it makes projects.
I then applied pre-stain to my table. If your staining something I would always use pre-stain on your projects. It goes along way so it last awhile. This one is my favorite kind to use.
Next, I applied my stain. I absolutely loved the color my table legs turned out. I love the rustic feel to them. I used Rust-Oleum wood stain in Drift wood, I could only find it at Hobby Lobby. I followed directions on the can and once it was finished drying I applied my Martha Stewart antique wax you can find it here. This is by far the best wax I have come across. I think it adds the perfect touch of color to my pieces.
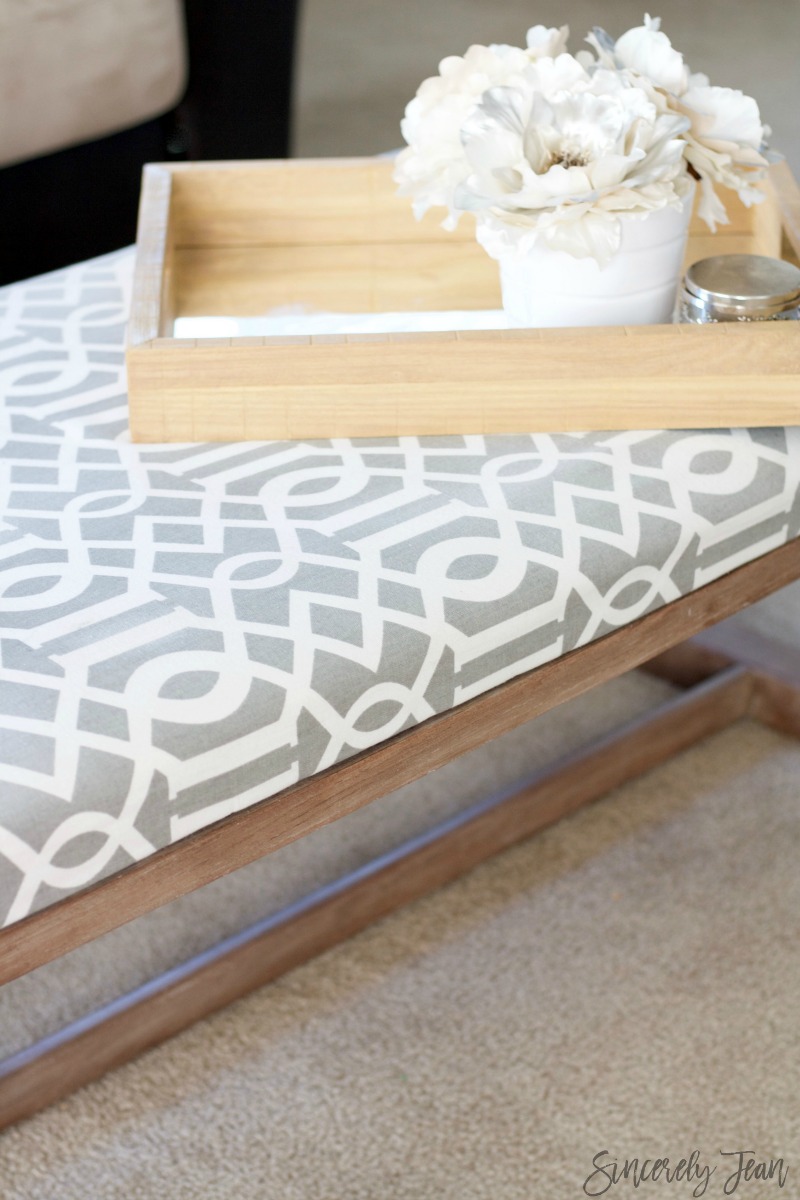
Once I was done with the body of my table I started with the fabric portion. I measured the width and length of the area where I wanted to add fabric. I cut those dimensions out on a piece of plywood I had laying around with my Jigsaw.
I needed foam for the top of my board. I didn’t want to spend an arm and leg on foam so I decided to go with 3 in egg crate mattress pad that I had and it worked great! I sprayed adhesive to the board, lined up my egg crate, then wrapped batting over it and stapled it to the back of the board. I bought some cute fabric at Joann’s Fabric with my %50 off coupon. And wrapped and stapled just like I did with my batting.
Once finished with my fabric piece I position it where I wanted it on the table. With my mom sitting on top of the table I drilled in about 6 screws from the bottom of the table into the plywood. And TADA it was done!
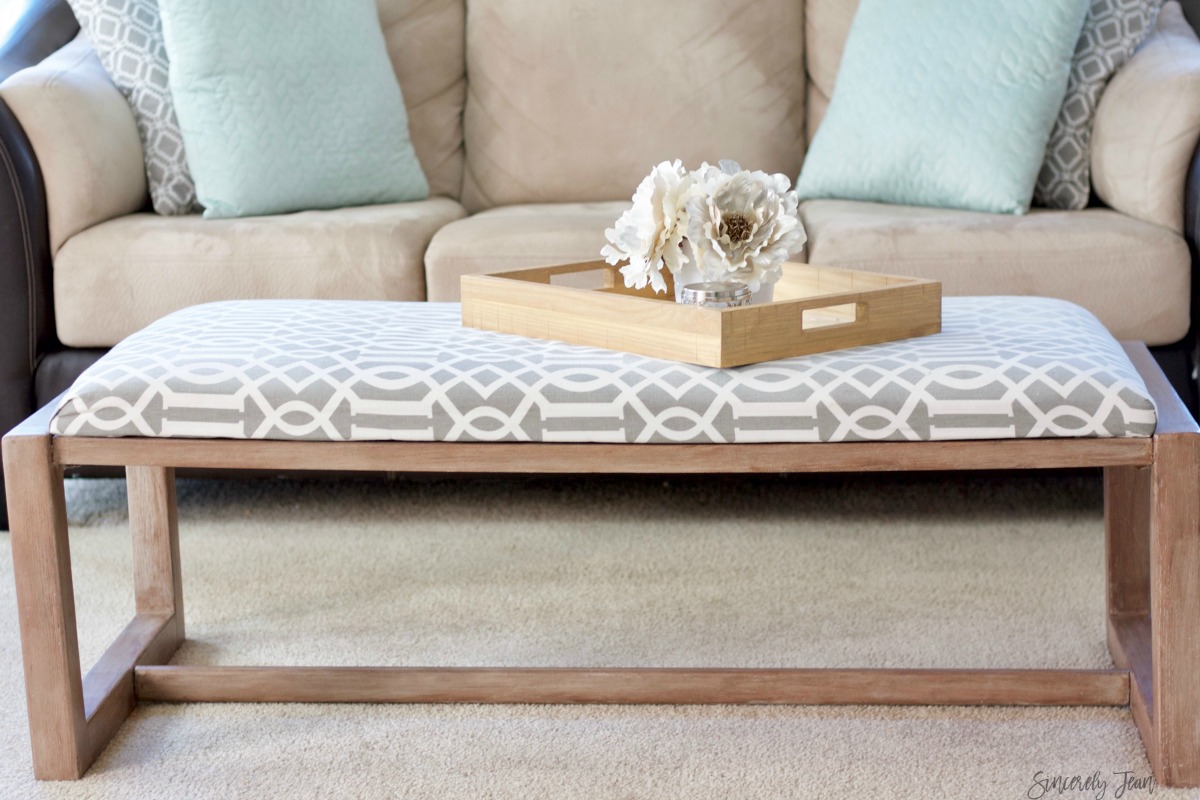
I was so happy with the turnout. It goes perfect with our rectangular family room and color scheme. Hope you guys like it!
sincerely,
patti jean
PIN FOR LATER:
We also think that you will love our FREE ecookbook with 30, 5-Ingredient recipes HERE
Also, if you have ever thought about starting a blog, you need to read our HOW TO article!
JOIN THE SISTERHOOD!
If you liked this post we would love for you to share it on social media by clicking the buttons below!
Follow our blog with Bloglovin
[easy-social-share buttons=”facebook,twitter,pinterest,mail” morebutton_icon=”plus” counters=0 style=”icon”]
