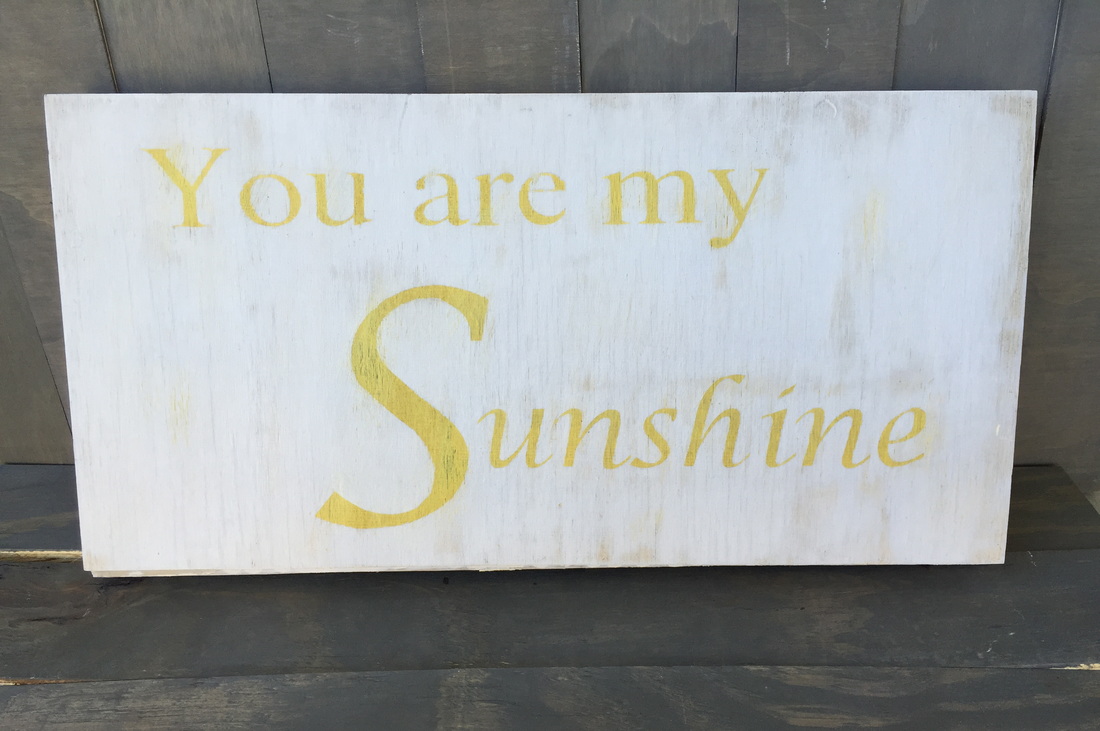
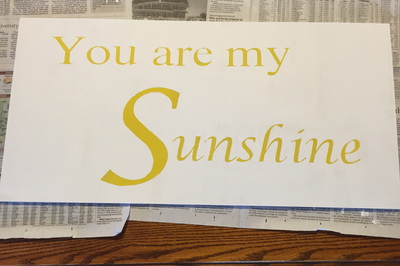
One of my favorite crafts to make is wood signs! They are so fun and I love being able to make my own designs. Whenever I find a cute sign in Hobby Lobby or other craft stores I take a picture on my phone and then make it myself. The sign I will be showing you today “You are my Sunshine” is something I made for my baby’s nursery. I was able to choose my own font, color, and sizes. This is why it is so great to make it yourself! This distressed wood sign tutorial will should you how to make any sign your own!
Here are the supplies you will need:
1. Plywood-I buy the 24″x24″ plywood boards at Lowes which only cost about $4 and they cut if for free. You can use the extra wood for future projects!
2. Furring strips for back frame-I also buy this at Lowes. You can get 8 feet for $1 and they cut it for free.
3. Paint-I use all purpose acrylic paint that you can get at any craft store.
4. Foam paint brushes
5. Vinyl (words and/or design)
6. Transfer paper
7. Wood glue
8. Craft squeegee
9. 2 Clamps
10. Sandpaper
11. Stainer wood finish
12. Paper towelsSteps:
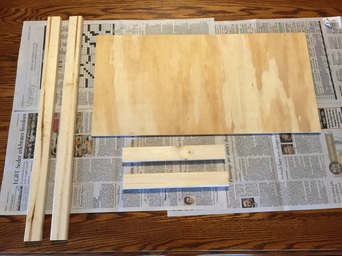
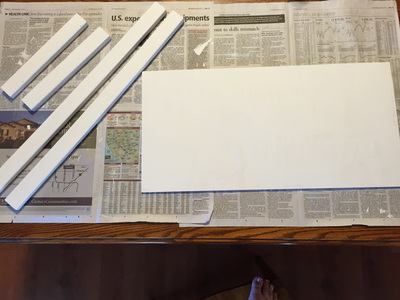
1. The first step is to decide what size you want your sign and to cut the wood to the correct sizes. I decided to do this sign 12″ x 24″ so that I what I had them cut it to when I bought the wood at Lowes. I also had them cut two of my furring strips to 24″ and the other two to 10″ for the back frame.
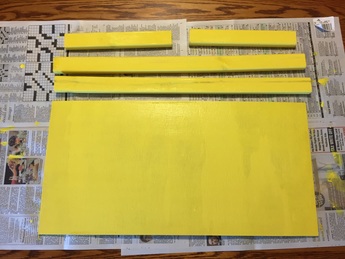
2. Paint all of the wood the color that you want your letters to be. I used yellow and did 2-3 coats.
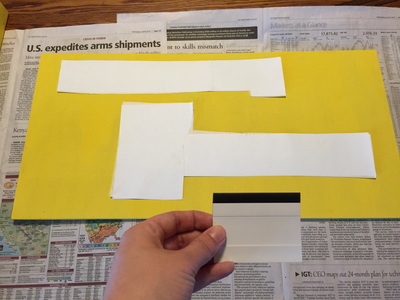
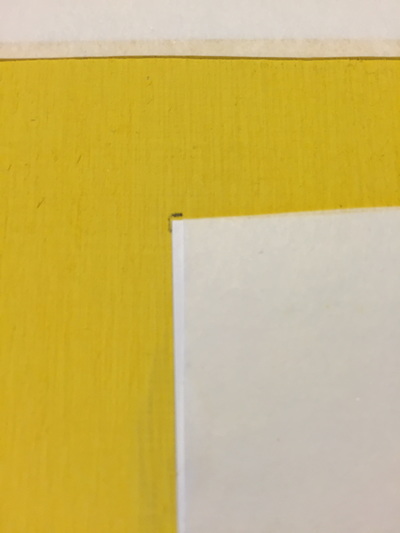
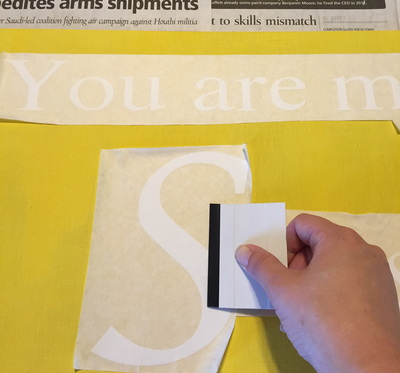
3. Time for the vinyl. (I have a Silhouette machine that I design all of my projects on. I absolutely love it!) Attach the transfer paper to the vinyl and use the craft squeegee to make sure that the vinyl is completely attached to the transfer paper. Before you peel off the the vinyl, make sure you know exactly where you want to place it so that is doesn’t come out crooked. I use a pencil to outline the corners of the transfer paper.
4. Carefully peel off the vinyl paper and apply the transfer paper to the wood making sure to align it with the pencil markings you made. Use the craft squeegee to make sure the vinyl is completely attached to the wood. Carefully peel off the transfer paper.
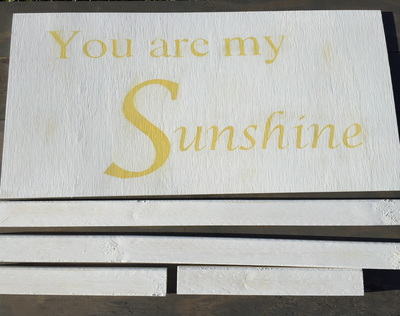
5. Paint all of the wood the color you want the rest of the sign to be. I used white and did 2 coats. Be careful not to get paint under the vinyl. You can avoid this by not using too much paint when going over the letters. Let the paint dry completely. Remove vinyl letters.
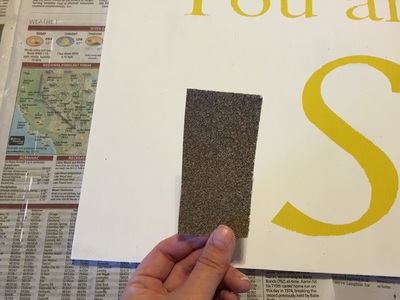
6. Get out that sandpaper! First, sand the wood evenly and in the same direction. Then sand harder around certain areas and letters to remove the paint to give it that distressed look.
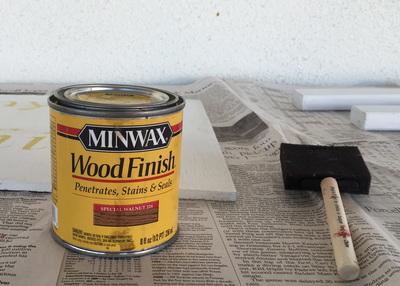
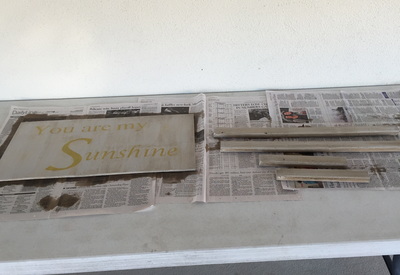
7. Stainer time! Make sure to use the right color of stainer because once you apply it there is no going back. You might want to try it on an extra piece of painted wood before applying it to your sign just to make sure you are happy with it. I used the “Special Walnut” color of the Minwax brand. **It will always look darker when you first apply it. After it dries it lightens up quite a bit.** Use a foam paint brush to apply the stainer. Be careful not to apply too much, a little bit goes a long way. Use paper towels to remove the excess. Let the stainer dry completely. I usually let mine dry overnight.
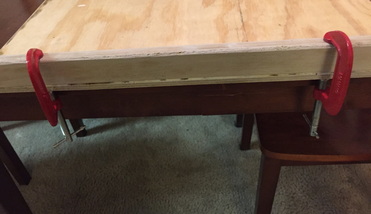
8. Now we are going to use our wood glue and clamps to attach the back frame. Do one side at a time. I recommend doing the top first, then the sides, and then the bottom. I do the bottom last to make sure that I leave enough space for the side pieces to fit in between the top and bottom. Evenly apply the wood glue and then place the wood strip over the glue making sure it is straight. Evenly space the clamps onto the wood. Use paper towels to remove the excess glue. Let it dry completely. Repeat for all sides.
You are done!! Wasn’t that a fun project? If you have any questions, please contact us!
Sincerely,
shari jean
Follow our blog with Bloglovin
[easy-social-share buttons=”facebook,twitter,pinterest,mail” morebutton_icon=”plus” counters=0 style=”icon”]
See where we are linking up HERE!
