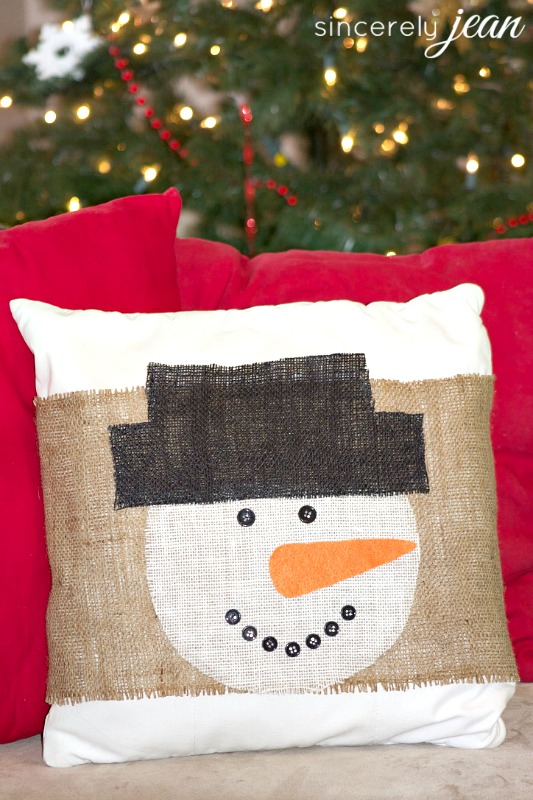
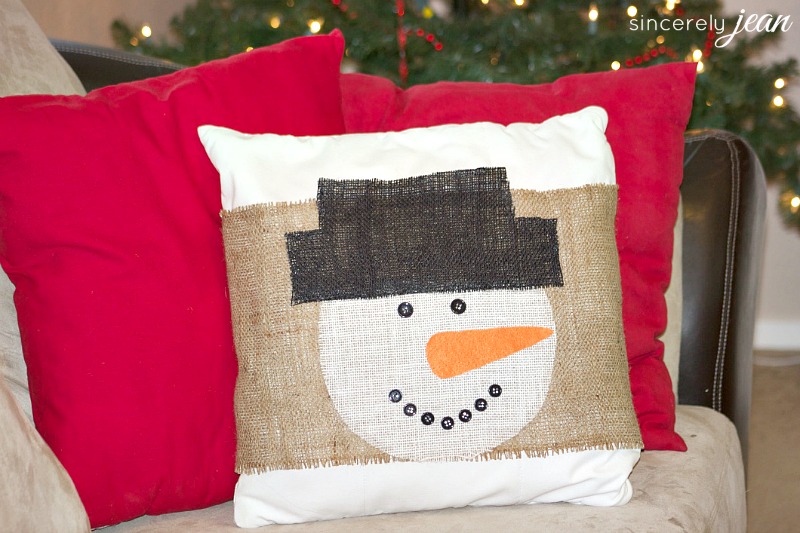
Last week we shared this DIY burlap pillow cover tutorial over at Giggles Galore as a contributor post. Today we are bringing you the full tutorial on our site. I love working with burlap because it is so versatile! You can do so many fun projects with it! And did you know that it comes in all sorts of different colors, not just brown? For this project I used brown, black, and white burlap. One reason I love this burlap pillow cover is because is attaches in the back with velcro and so it is so easy to put on during the holidays and then take it off afterwards. You can make so many different holiday pillow covers but since Christmas is coming, I made a snowman. It was a pretty easy project and I love having it up! I think it is such a cute addition to my holiday decor! I also have an awesome tip for cutting burlap HERE.
Here are the supplies that you will need:
1. Burlap (This will depend on the size of your pillow. I bought 1 yard regular brown, 1/4 yard white and 1/4 yard black.)
2. 9 Black buttons
3. Orange felt
4. 1″ Velcro (This will depend on the height of your cover as discussed below. I used 10 inches.)
5. Scissors
6. Mod Podge
7. Foam paint brush
8. Hot glue gun
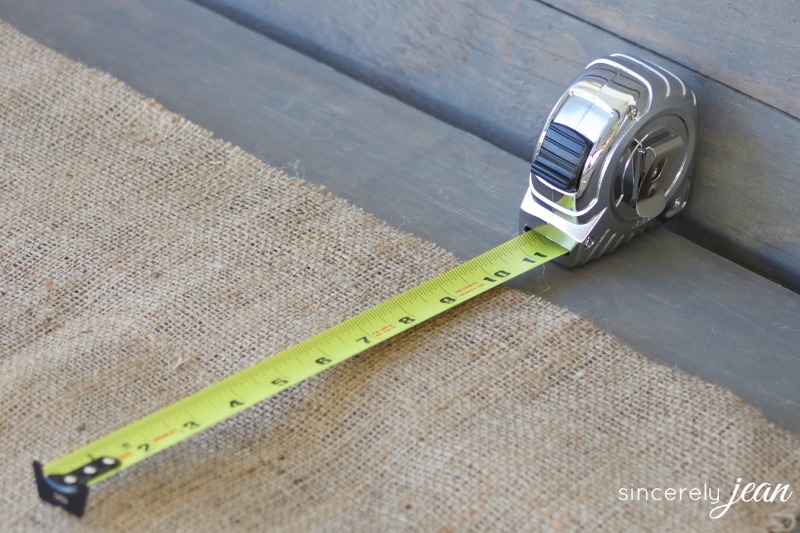
9. Tape measure
Steps:
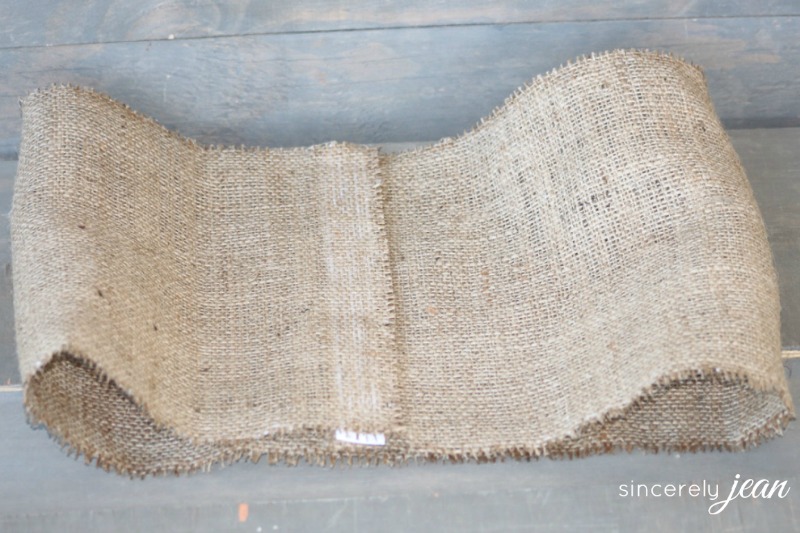
1. Find the pillow that you would like to use. We are going to measure for the width of your burlap first. Place your tape measure in the center of the pillow and measure all the way around. Take that measurement and add 2 inches (for the Velcro). My pillow was 36 inches around so I cut my burlap to be 38 inches in width. Now it is time to cut your burlap. I have an awesome trick on how to cut your burlap correctly to make it even! You can find that post HERE.
2. Now we are going to determine the height of your burlap. This really depends on your personal preference. I decided to leave 4 inches of the pillow showing on the top and bottom. The height of my pillow was 18 inches so I made the height of my burlap 10 inches. Now cut the burlap. Again, you can use my awesome trick stated in step 1.
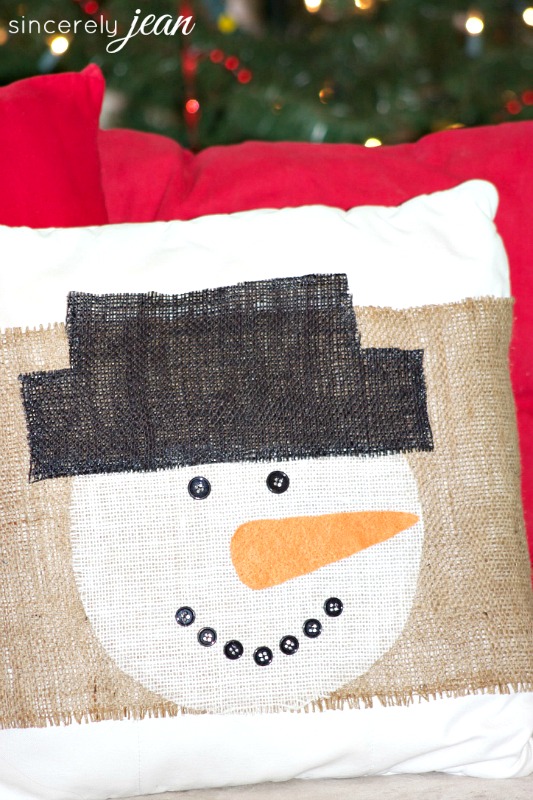
3. Now it is time to make the snowman face from the white burlap. I created a snowman face cutout PDF that you can find HERE. I cut it out on black card stock and pinned it to the white burlap. I then cut around the card stock and burlap with scissors.
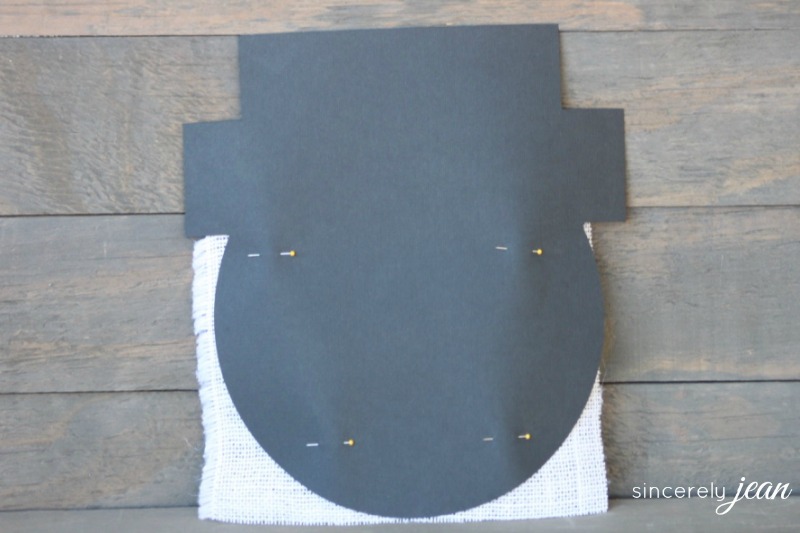
4. Time for the hat. Pin the card stock to the black burlap and cut out the hat portion with scissors. I like how the hat hangs over the top of my cover a little bit.
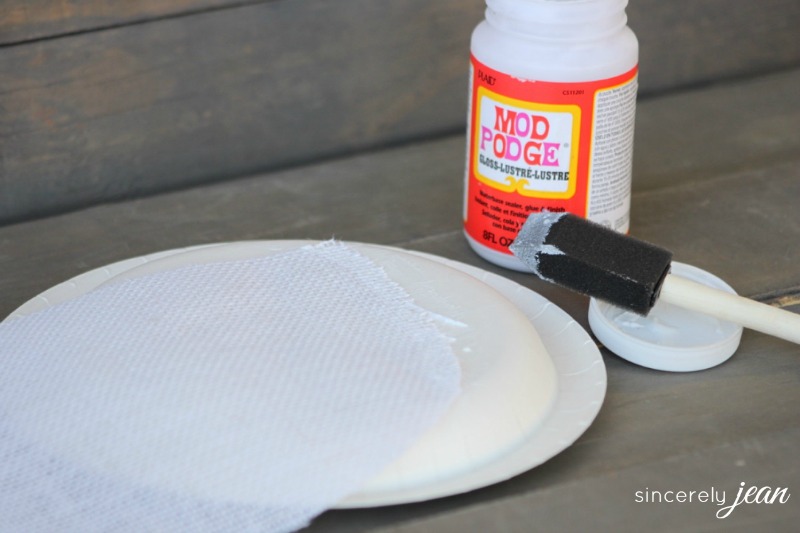
5. Since all your burlap is now cut, let’s make sure it doesn’t unravel! Mod podge is a great way to secure the edges of burlap. Use your foam brush to apply mod podge on the edges of all your burlap. Apply the mod podge to the back of the burlap. It will go on white but don’t worry because it drys clear. Do this for your main cover, white snowman face and black hat. Let it dry completely.
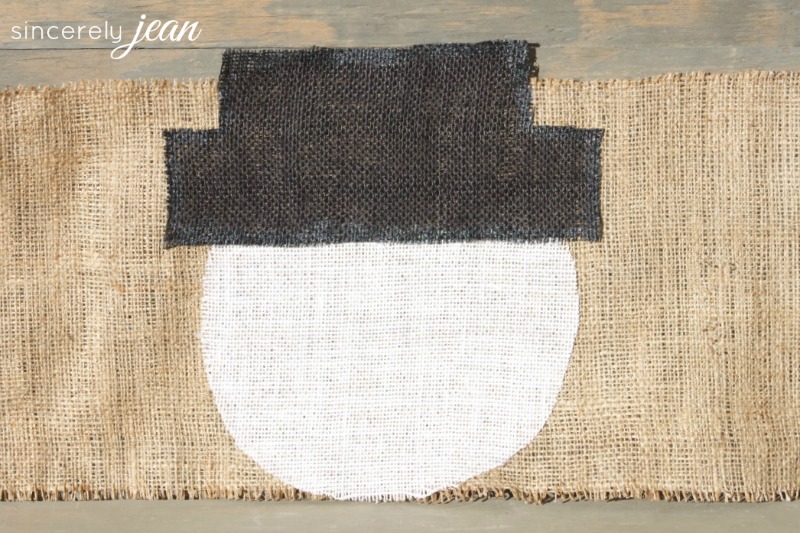
6. Find the center of your burlap cover and hot glue your snowman face evenly. Only apply the hot glue to the edges of the snowman where the mod podge already is. This will keep it from seeping through the burlap. Center the hat on top of the face and hot glue it. Again, only apply the hot glue to the edges of the hat so that it won’t seep through.
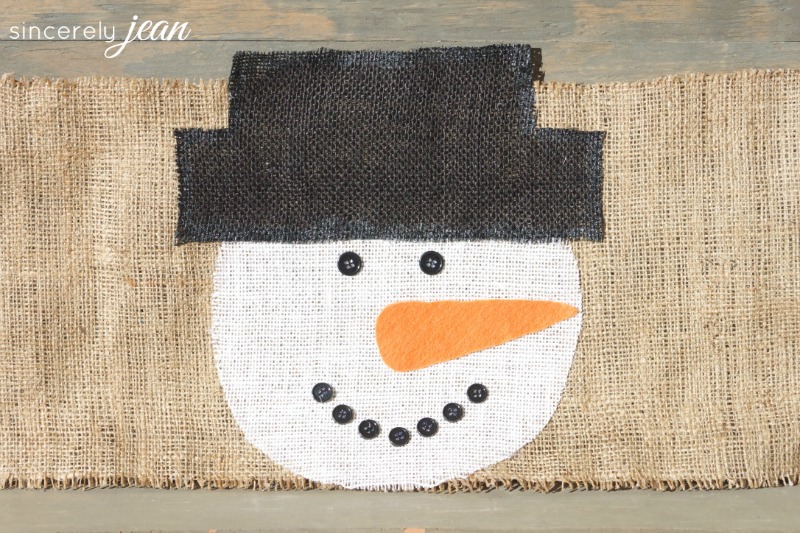
7. Again using the center of the burlap cover, hot glue 2 of the buttons on both sides of the center to make the eyes. Now use the 7 small buttons for the smile. Place bottom button directly on the center of the cover. Then place 2 slightly above it on either side. Then repeat for the last 4 buttons.
8. To make the nose, cut a triangle from the orange felt and round the edges. Hot glue the nose in the center.
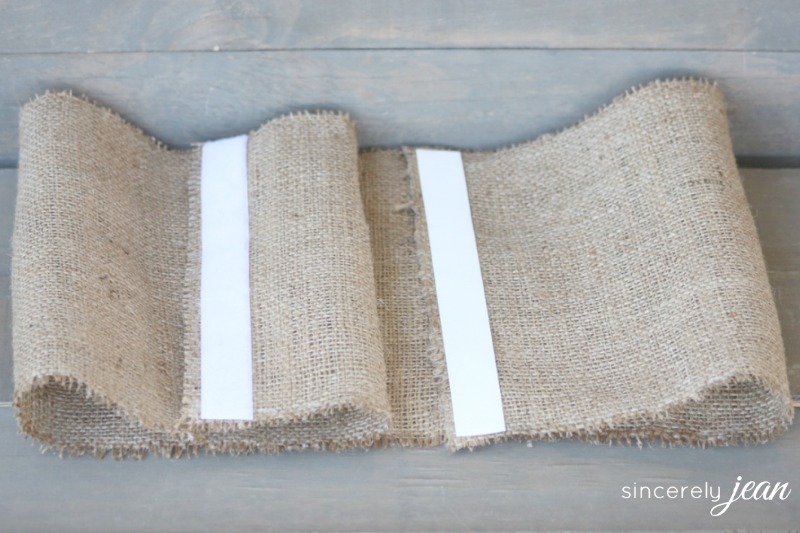
9. Hot glue the velcro to the ends of your burlap cover so that they face each other and will attach.
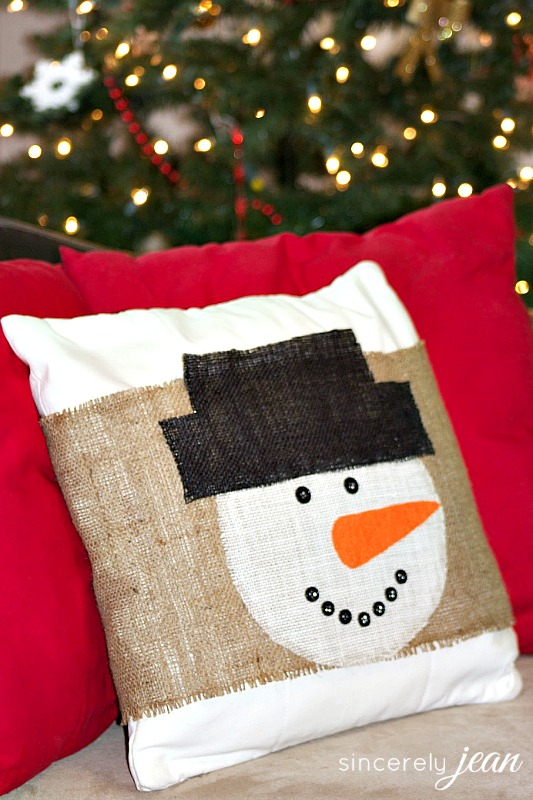
I hope you enjoy your burlap pillow cover! If you liked this post, then I am sure you will like our Peppermint Candy and Paper Mache holiday craft and our DIY Mason Jar Snow Globe craft! Happy holidays!
Sincerely,
shari jean
Follow our blog with Bloglovin
[easy-social-share buttons=”facebook,twitter,pinterest,mail” morebutton_icon=”plus” counters=0 style=”icon”]
See where we are linking up HERE!
This is so cute! And I love that it’s removable. Thanks for your detailed tutorial. I didn’t know the tip about using Modge podge to keep the burlap from unraveling.
Thanks Suzy! I am so glad you liked the tutorial and the Mod Podge trick!