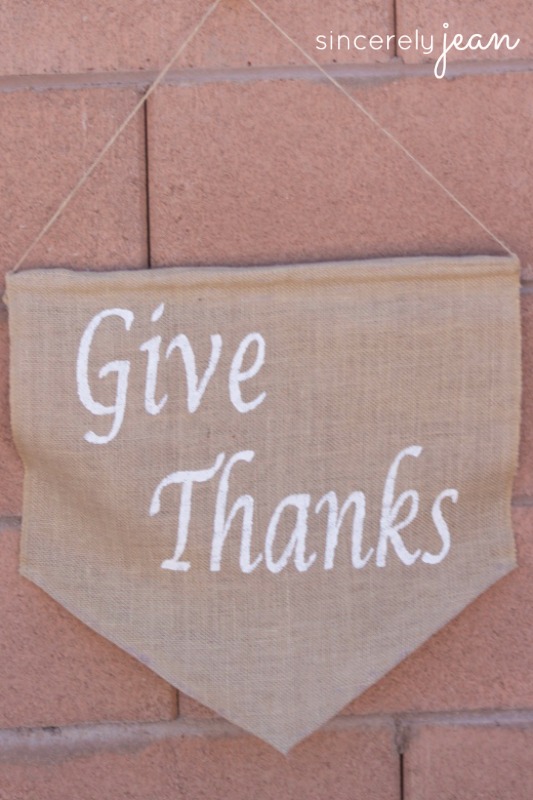
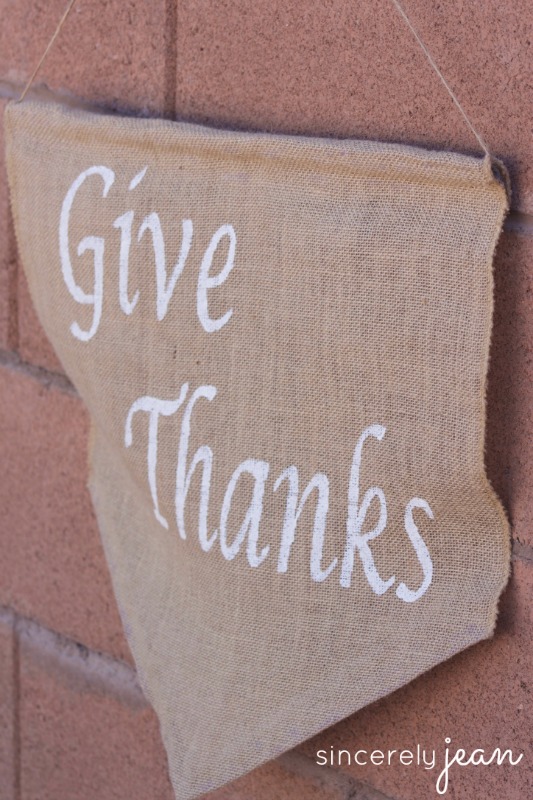
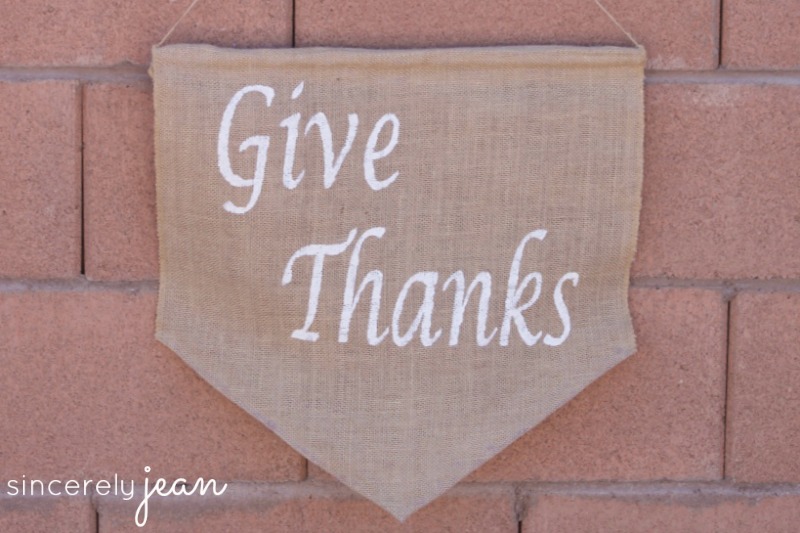
Thanksgiving is almost here! Time to gobble til we wobble! I can’t wait! But more important than the food, it is a time to remember what we are thankful for. I decided to make this “Give Thanks” burlap banner to help us remember that during this holiday season. It is an easy project and it will be a great addition to your fall decor!
Supplies:
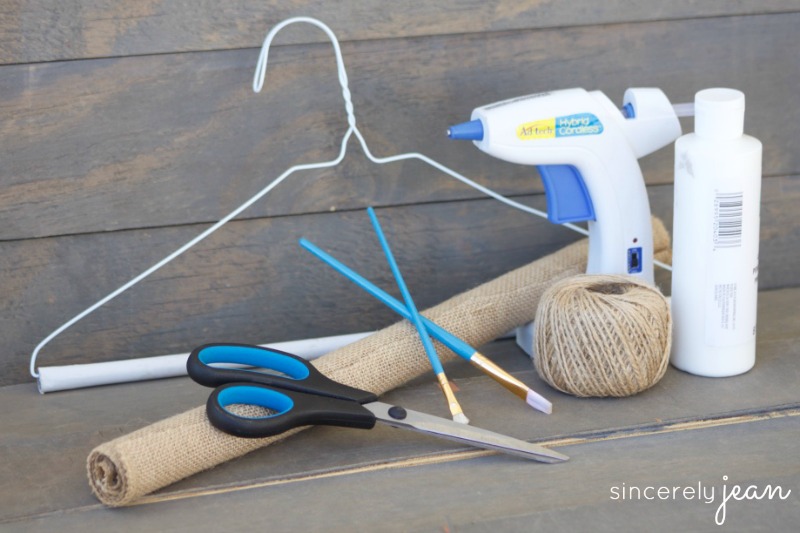
1. Paper clothes hanger
2. Burlap
3. Twine
4. White paint
5. Paint brush
6. Hot glue gun
7. Scissors
Steps:
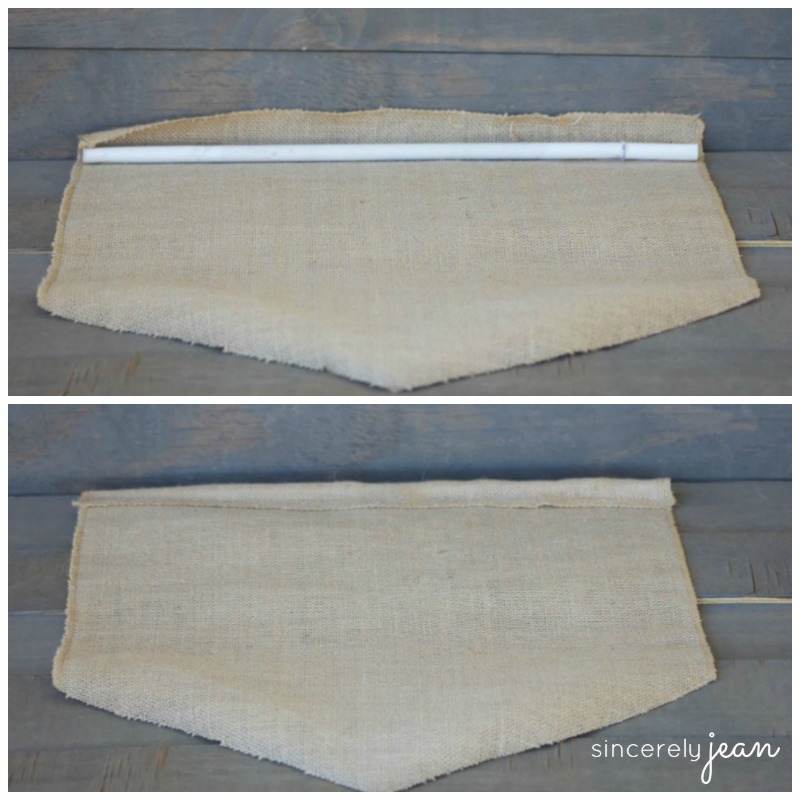
1. Cut your burlap into a rectangle. My burlap was 18 inches long and I cut it to be 20 inches wide. Don’t cut the side of your burlap because you don’t want the sides to roll. Leave it the length it is.
2. Measure your paper hanger to the length of your burlap (again, mine was 18 inches). I actually had to use 2 hangers and hot glue the paper rolls together to make it long enough to fit my burlap.
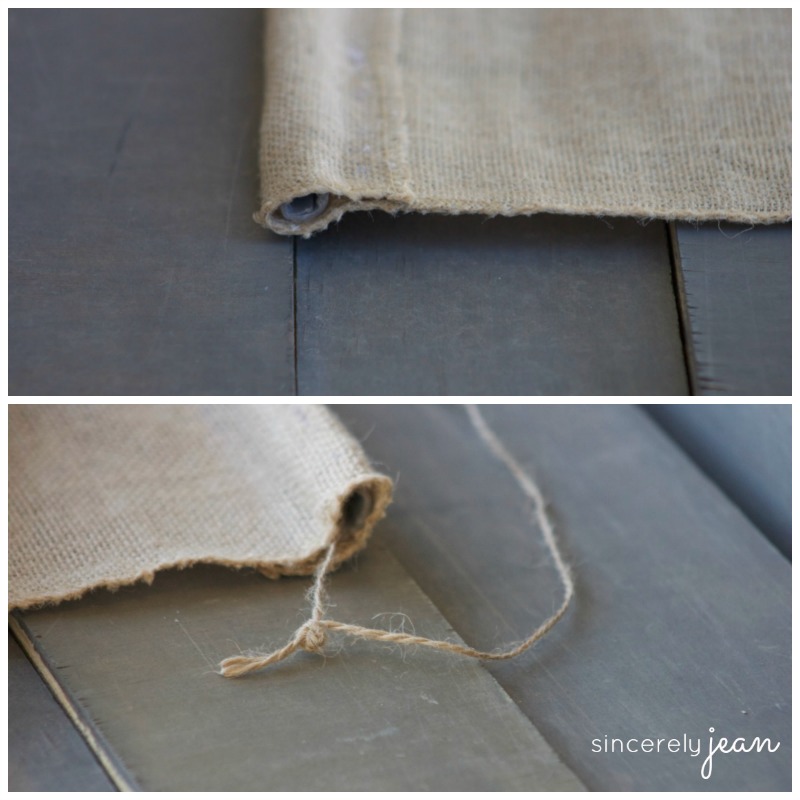
3. Hot glue your paper roll about an inch and a half from the top onto the burlap. Then, fold the top over and hot glue the burlap together.
 4. String your twine through the paper roll and make a knot. Move the twine so that the knot is inside the roll so that you don’t see it.
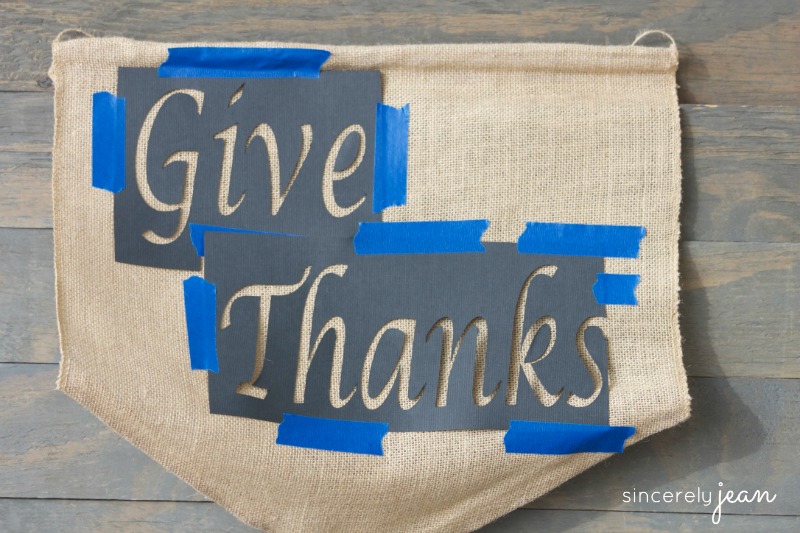
5. Tape your stencil to the burlap and use the paint brush to paint in the letters with the white paint. Be careful to use a light coat of paint because you don’t want it to bleed through! I cut my stencil out on cardstock using my Silhouette Cameo machine (which I absolutely LOVE and you can find it on Amazon HERE). The font I used was Lucida Calligraphy.
6. Let the paint dry completely and carefully peel of the stencil. You are done!
I hope you enjoy this fun and easy DIY burlap wall banner! Happy Thanksgiving! If you liked this post then you will probably also like my diy fall rustic mason jars post!
Sincerely,
shari jean
[easy-social-share buttons=”facebook,twitter,pinterest,mail” morebutton_icon=”plus” counters=0 style=”icon”]
See where we are linking up HERE!