Steps:
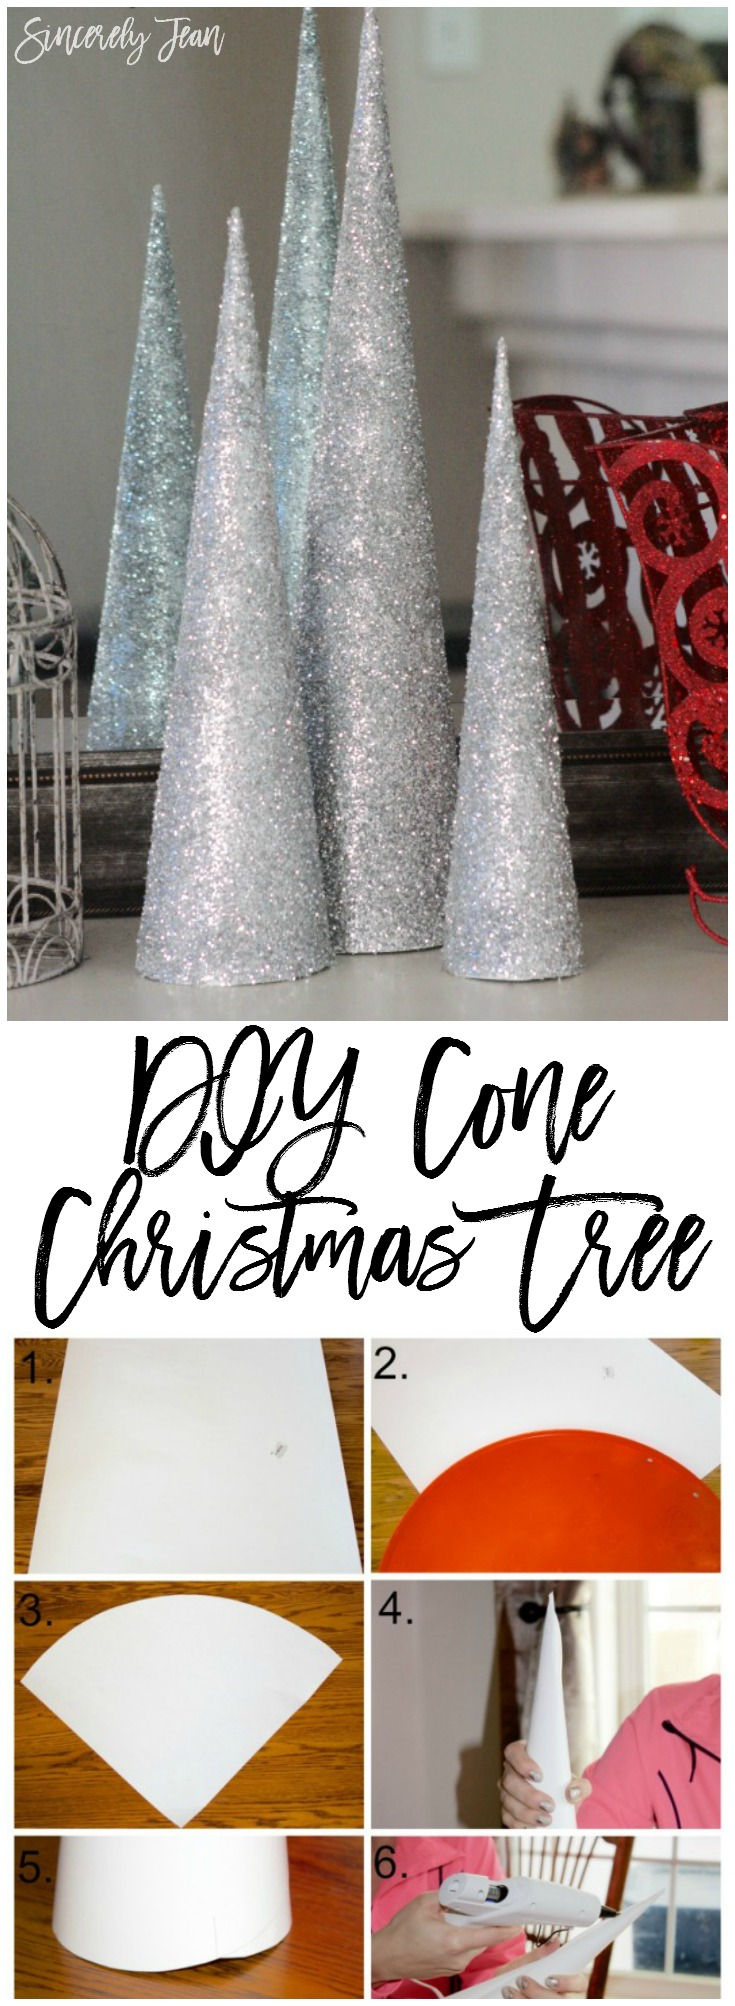
1. Lay out your poster board
2. Find a big oval to trace your arc with. We used a sledding saucer but you could use a trash can or big bowl.
3. Cut out your tracing.
4. Start by squeezing the tip to make a point and then start slowly rolling it into a cone. You might have to try a few times.
5. As you can see in the picture you will have excess paper overlapping each other. You want some of that but not all. Where you see the line is where we cut some excess off from the bottom to the tip.
6. Hot glue your cone together, keeping the tip intact.
7. Your going to have to trim the bottom until it sits flat on a surface.
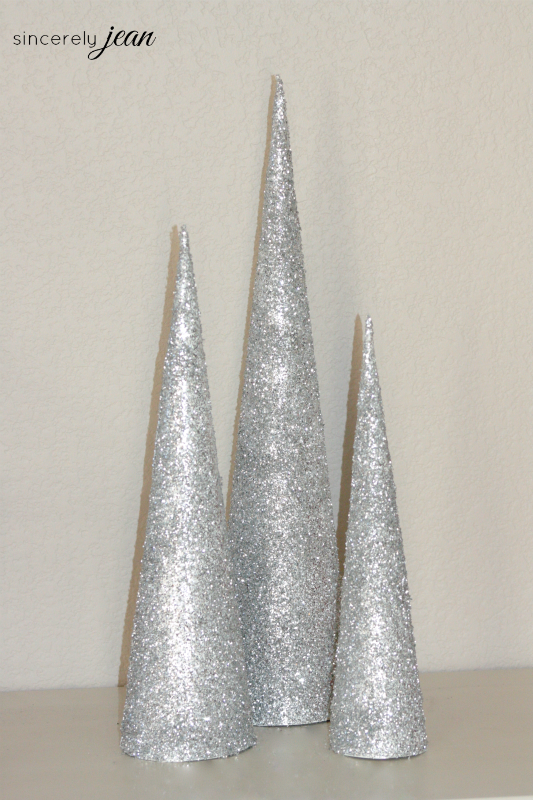
8. Now in sections, spray with adhesive spray and pour glitter. Keep rotating until the cone is covered. Let dry.
9. Once dry, I used my clear glaze spray all over the cone.
You’re done! I hope you enjoy your cute and inexpensive cone Christmas trees. Check out more of our DIY projects and don’t miss out on our FREE ecookbook, “30 5-Ingredient Dinner Recipes”.
Click HERE to go back to the first page.
Sincerely,
patti jean
PIN FOR LATER:


Hi Jean! Your tree cones turned out lovely! They look like store bought! I love projects like this that utitlizes materials we have on had! And what a savings! Thanks for sharing! Blessings from Bama!
Thank you Felecia! We are glad you like them!
Very pretty trees and an easy project to do at home for Christmas. And they are very versitile.
Hi Mary! Thanks for your comment! We are glad you liked the cone trees!
Such an awesome idea! Cone trees are so cute but usually really cute ones are expensive! This is the perfect way to make cute/amazing cone trees for very low price!
Thanks so much! We are so glad you liked it!