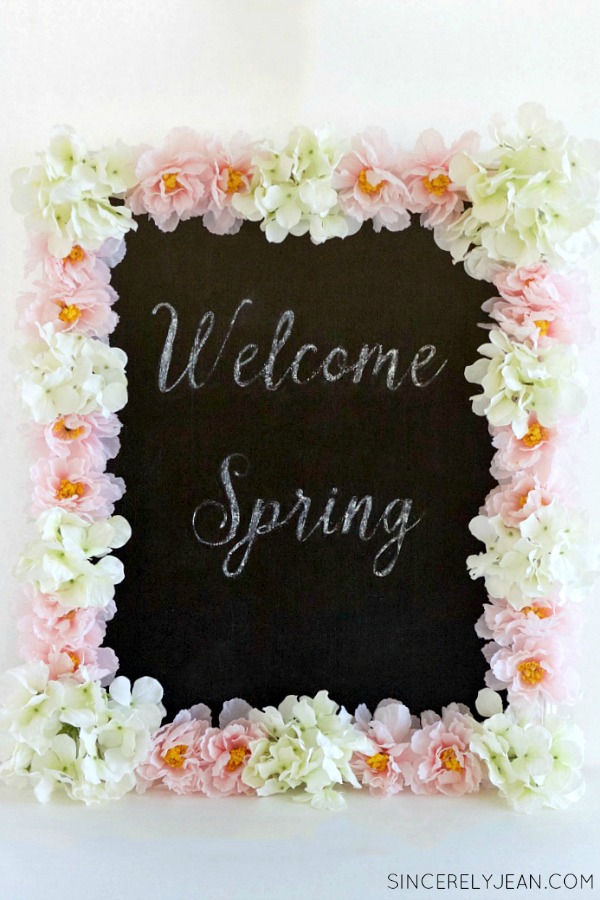
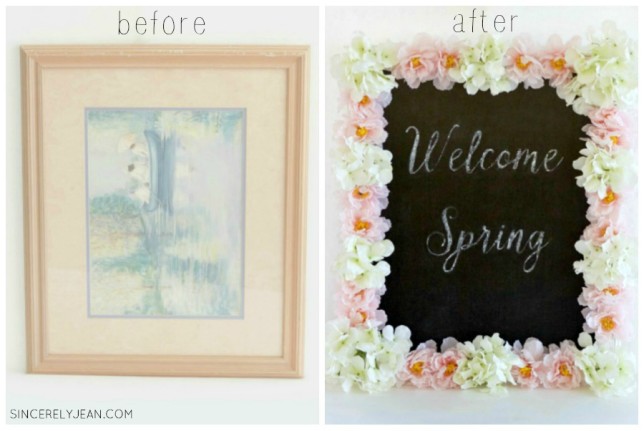
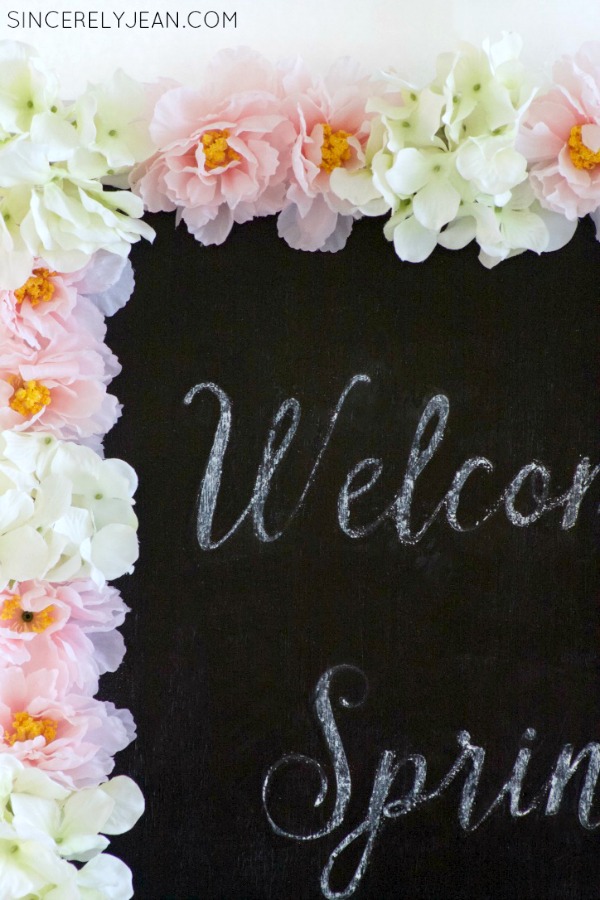
Ever since I did my DIY Floral Letter post, I have been in love with anything floral! I have been itching to do another floral project! I have also been dying to do a DIY chalkboard. One day when I was in the shower I had the idea to put them both together! Do you ever get ideas in the shower? I usually get my best ideas in the shower or late at night when I have time to think! I love this DIY floral chalkboard because it is so pretty and the perfect home decor for spring! I am so excited about it! Here are the before and after pictures.
Watch my DIY floral chalkboard tutorial on YouTube below! Remember to subscribe to our YouTube channel to catch more of our tutorials! I have also included the written instructions below!
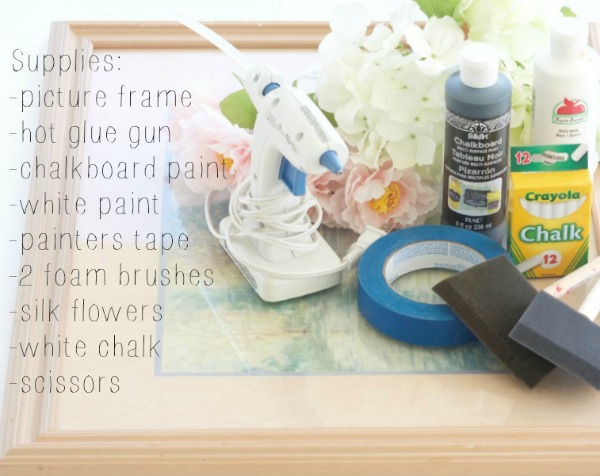
Supplies:
Instructions:
- Place painters tape on the outside of frame and paint the frame with the color of your choice. Let it dry completely. I got my frame for $1 at a thrift store. You can find painters tape HERE.
- Place painters tape on the outside of the glass and paint the glass with black chalkboard paint. I got my chalkboard paint at Michaels.
- Take the silk flowers off of stems. Space out your larger flowers and then hot glue the backs to the frame. You always want to arrange your larger flowers first. I also got my silk flowers from Michaels.
- Fill the spaces between the larger flowers with smaller flowers by hot gluing the backs to the frame.
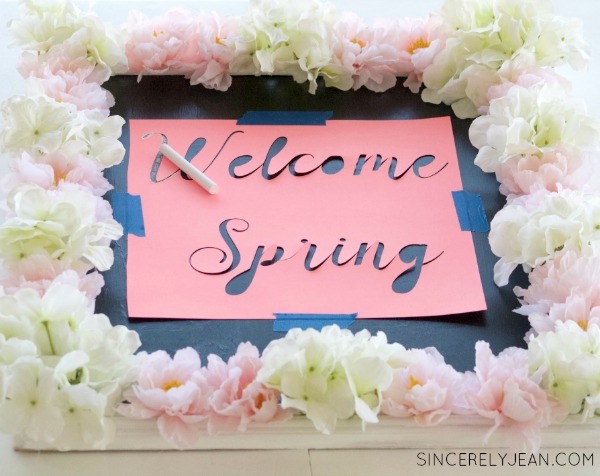
This project is so fun and easy! You can write any design you want on the chalkboard. I created a “Welcome Spring” design my Silhouette. If you have a Silhouette, I used the Yellow Daisy font. If you do not, I made a PDF version that you can trace HERE. I used regular chalk but I plan to make it permanent with my chalk marker.
I hope you get a chance to make this! It will add a little beauty to your home for spring!
Sincerely,
shari jean
If you liked this post, we also think you will enjoy our $5 DIY Decorative Orb and our DIY Burlap Wreath!
JOIN THE SISTERHOOD!
If you liked this post we would love for you to share it on social media by clicking the buttons below!
Follow our blog with Bloglovin
[easy-social-share buttons=”facebook,twitter,pinterest,mail” morebutton_icon=”plus” counters=0 style=”icon”]
See where we are linking up HERE!



Super cute tutorial! holly
Thanks so much Holly!