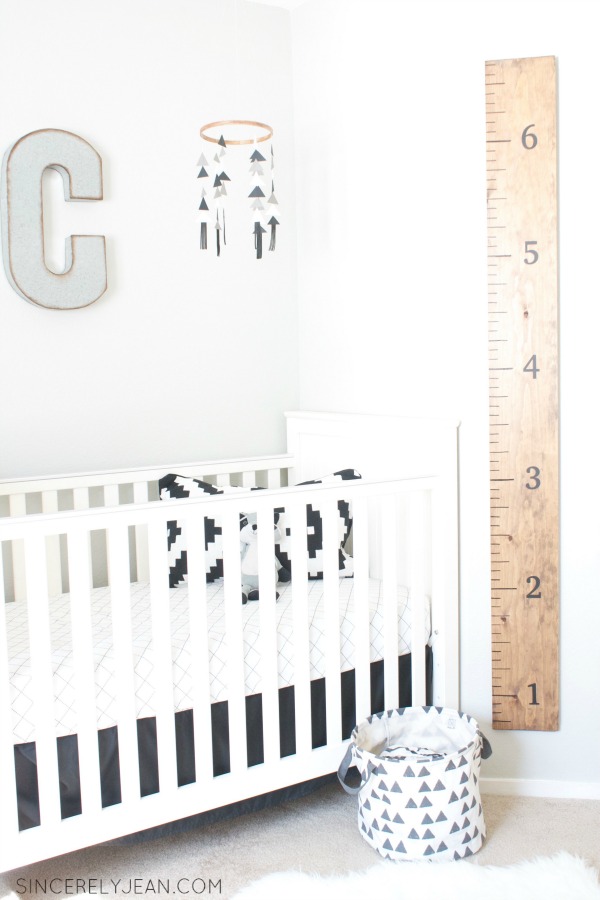
Hey Sistas, I’m so obsessed with the wooden height rulers from Pottery Barn right now but they are so expensive! I wanted one for our boys room because natural wood is in their color scheme and I thought it would be the perfect accent. Once I was shopping around for them though I decided I could make mine for much cheaper. This DIY Pottery Barn Knockoff Height Ruler was seriously one of the easiest projects I have ever done. I feel like usually DIY projects are always longer, harder, and more expensive then expected but this was a breeze compared to some of the projects I have tried. So even if your just a beginner at DIY projects, this one is for you.
Supplies Needed:
- 1- 1″x8″x6′ pine board
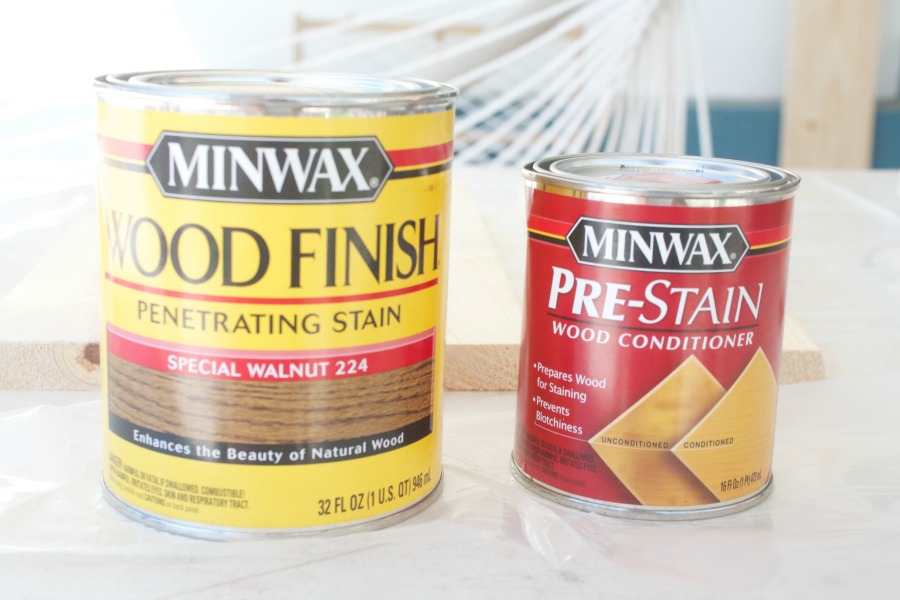
- Minwax Pre-Stain Wood Conditioner
- Minwax Special Walnut stain
- Old Rag
- Sharpie
- Black Vinyl
I bought my pine board at home depot and I used a %10 off coupon so it only cost me about $9. Because I had all the other supplies already from other projects that was about all my DIY height ruler cost me. A whopping $9, now that is how I like it! I probably used about $2 worth of my other supplies because my stains go along way.

- The first thing is to pre-stain your board. I always recommend doing this because it helps the wood stain have a more even color over the whole board. Just follow the direction on the back of your can on how to do it.
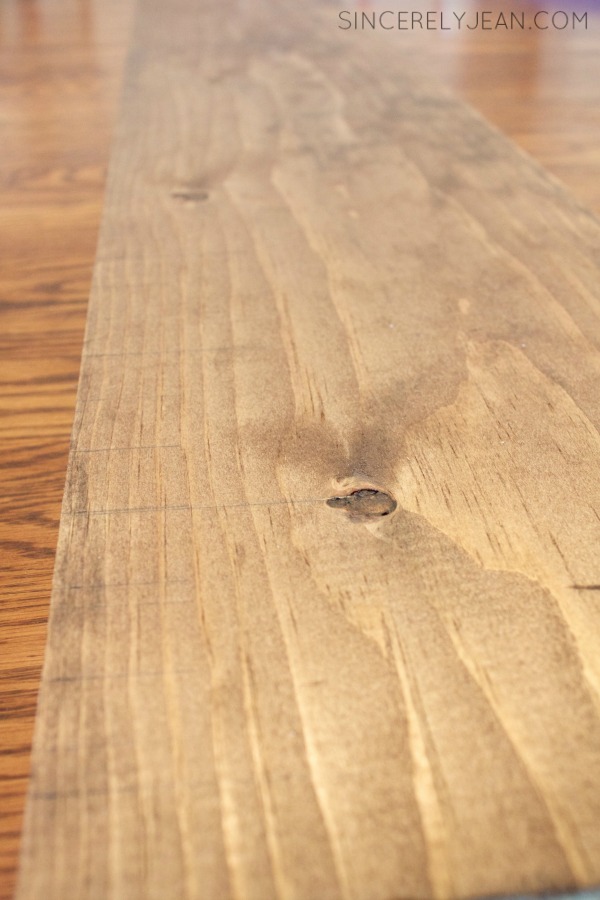
- Mix your stain. You can use whatever stain you’d prefer but I absolutely love the special walnut. It was the perfect tone for the earthy wood accents I was going for. A tip if your not sure how the stain will look on the wood (because all wood takes stains a little differently) is to try it on the back of your wood piece. Always remember to mix your stain. Shaking will not mix it good enough. Make sure you stir it up really good getting the color thats at the bottom of the can to mix in. Then I followed the directions on the can. I wiped it on with a paint brush, left it on for about a minute and then wiped it off with a cloth. Let it dry according to the directions.
- Once dry, I started my tick marks. I new I wanted my height ruler to hang 8 inches from the ground in the boys room. So I started my tick marks at 9 inches. With a straight edge I ticked away. My regular inch marks are 1 inch long, every third one I made it 2 inches long and then my foot marks are 3 inches long. After I was done I went over my tick marks with a sharpie.

- Time to place your numbers! I choose to place my letters right side up instead of on there side because that is my preference. I found a font and size I liked. I did this through trial and error by printing on paper first and seeing what I liked. When I new what I wanted I printed it out with a silhouette on my black vinyl. I then placed it right to the side of my foot marks.
Thats it! How easy is that? I hung my height ruler up with a sawtooth hanger that I had lying around and it does a good job. I absolutely love the turnout. It brings the perfect accent of wood that I was hoping for. I wanted it to match the DIY crib mobile I made and I think it does that perfectly.
After I was done I couldn’t believe how smooth and easy it had gone. Until… note to everyone, make sure when you lift your project up from the table the ceiling fan isn’t on! Yep, I didn’t realize it was on and the fan smacked right into the side of it. I almost started crying but it was just a little knick on the side so I got pretty darn lucky. We’ll I hope you have fun making this easy, inexpensive and darling height ruler.
Sincerely,
patti jean
JOIN THE SISTERHOOD!
