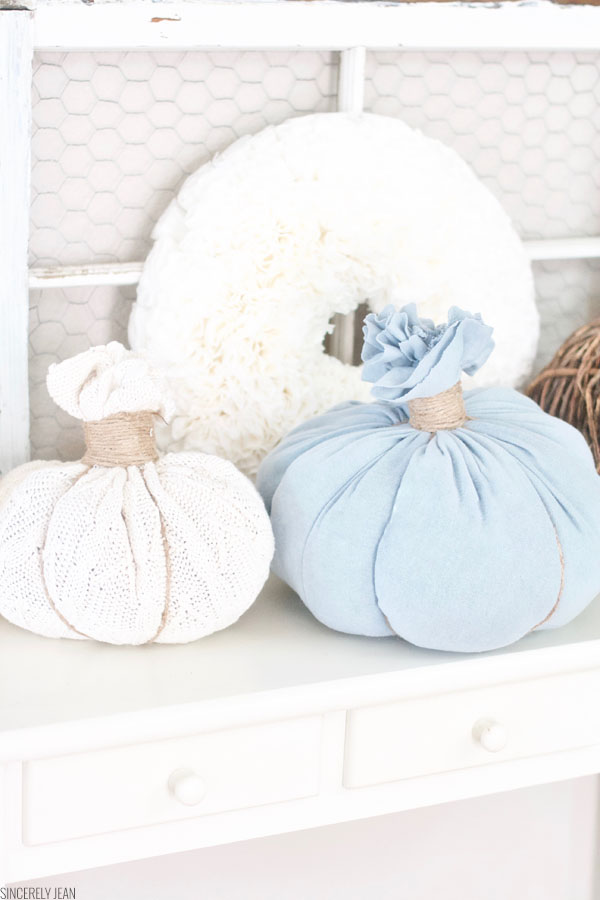
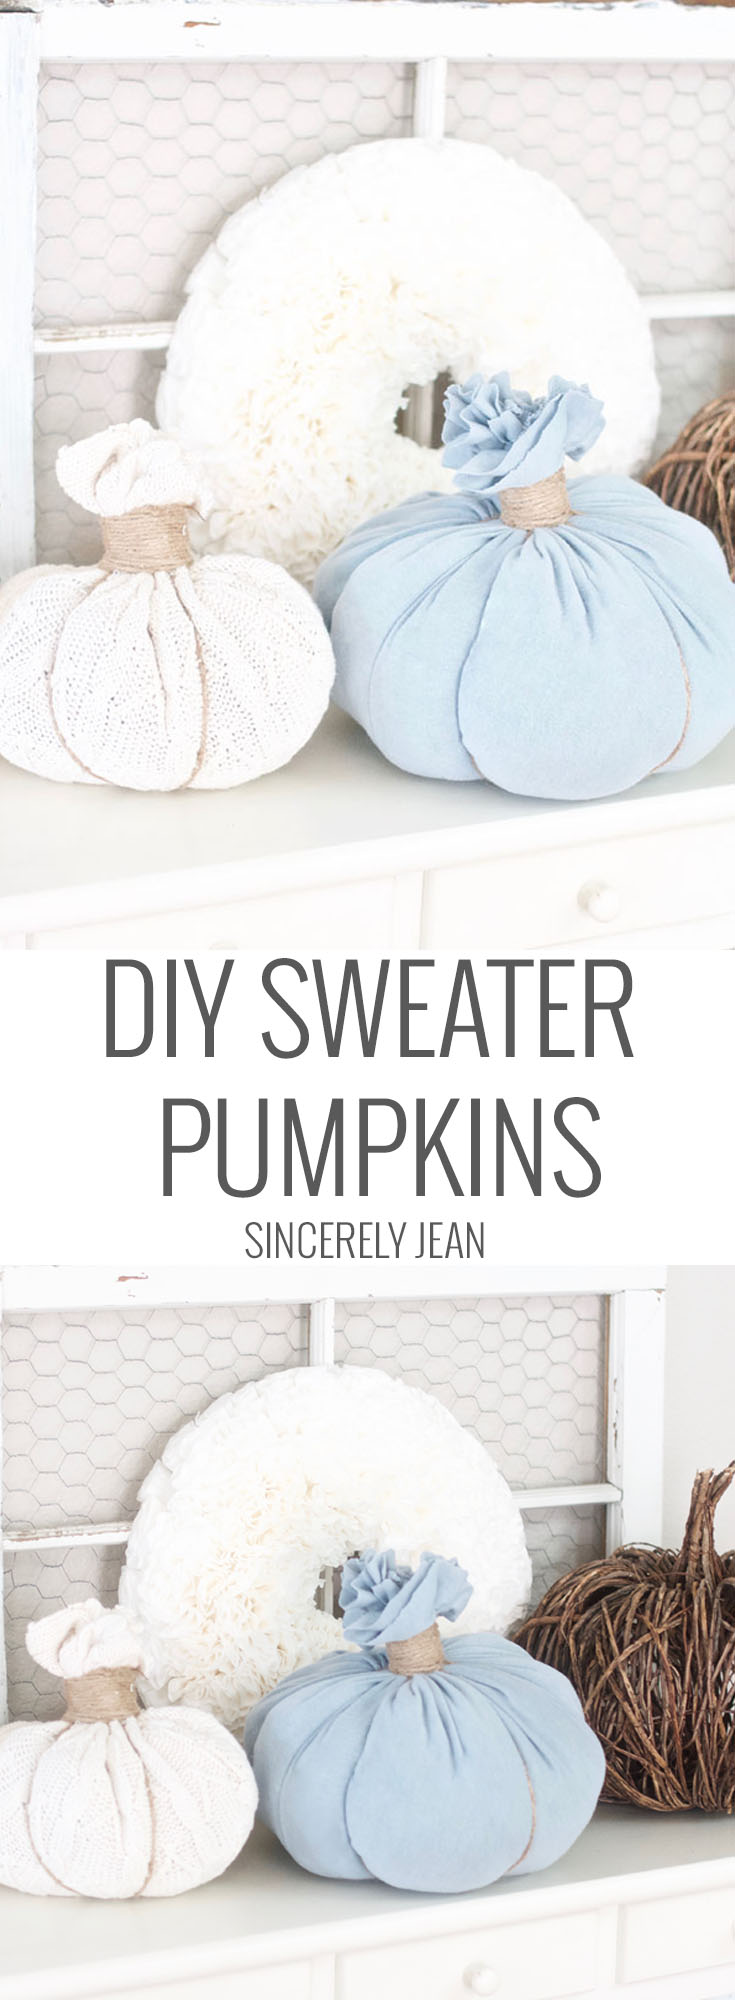
Hey Lovelies! So this Fall season I have totally been obsessed with Jade pumpkins. I was walking through home goods one day and so this super cute sweater twine pumpkin and it was so darling but it was like 2o bucks. After looking at it for a bit I realized I could totally make it on my own! I had an old sweater that I was about to give to DI that I though would be perfect for it.
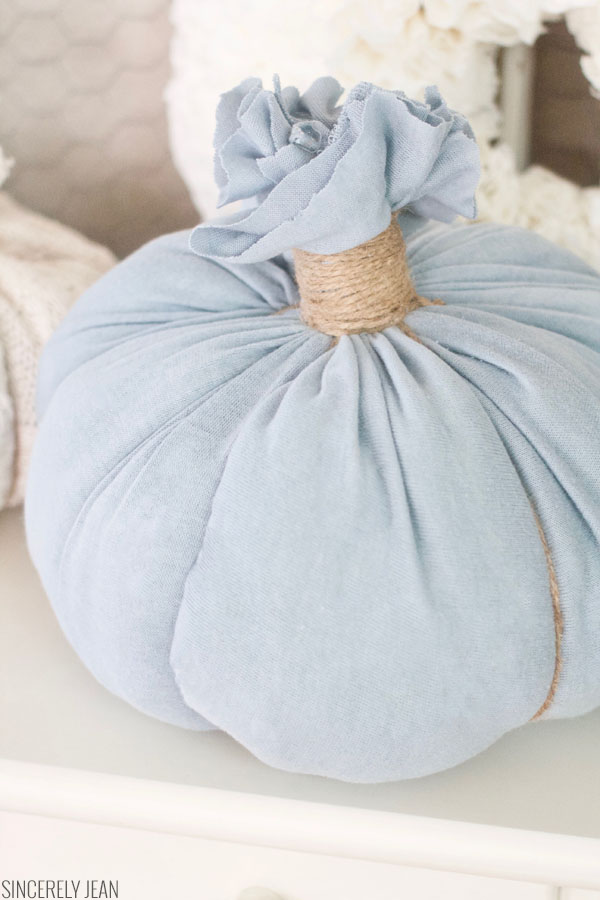
I had one of the sweaters but I really wanted my pumpkin closer to jade. So I went to DI and found a super cute jade sweater. It was big enough to that I had lots of material to make a big one.
These pumpkins only cost me about $5.oo to make both of these! Totally score. It beats paying $40! I always love a good deal. And it only took me about 15 minutes to make one which is also awesome!
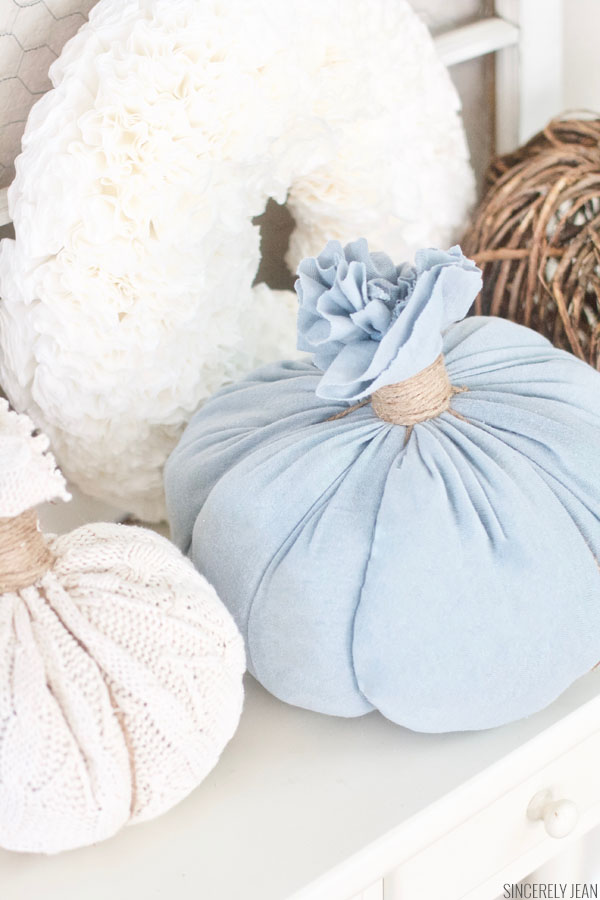
I repeated the same process with both of my pumpkins and I absolutely loved the turn out. I placed it with my twig pumpkin that I bought from home goods (that place is the best) and I hung up my DIY coffee filter wreath behind it.
Directions:
- Take your sweater or piece of fabric and cut it into a circle the size you want your pumpkins. Always go bigger if your unsure because you can always trim off the top if you want it smaller.
- Lay stuffing in the middle of your fabric. I had some old pillow stuffing that I used but you can grab some here
.
- Once stuffing is in the middle gather up all the fabric and bring it to the top. Smooth out any wrinkle or bumps with the fabric and stuffing. Take a rubber band and wrap around the top.
- Now grab your twine I love this
kind. I wanted 6 sections of my pumpkin so I was going to need to wrap my twine 3 times around. I first loop one end of my twine through my rubber band. Then I would go around the pumpkin and loop it through my rubber band again. Make sure to pull tight on your twin so that it crates the shape of the pumpkin. I continued like so with the two other times.
- Once I had my sections I just started wrapping the top of my fabric. I went around and around until I liked the height of my stump. Once don’t I knotted it at the top and tucked it in under the twine.
- Once my twine was done I grabbed my scissors and trimmed the top so that it was all even and the length I wanted.
Walla, that is it! Enjoy your cute inexpensive DIY sweater pumpkins!
sincerely,
If you liked this post I would love for you to share it on social media by clicking the buttons below!
[easy-social-share buttons=”facebook,twitter,pinterest,mail” morebutton_icon=”plus” counters=0 style=”icon”]


